Looking back at my research on spirals in Chapter 1, I selected a few images that appealed to me, and masked out areas that I thought might provide an interesting design to use for my resolved sample.
 |
| 3901 |
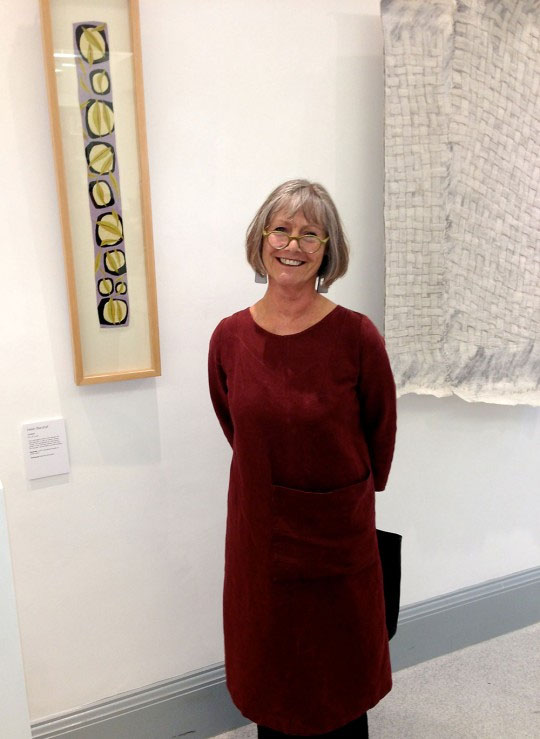
After seeing an untitled machine embroidery by Helen Banzhaf at the 62 Group exhibition at Goldsmiths, I really wanted to try working on something in a long, narrow format.
 |
| 3902 |
The sketch above was taken from the book 'The Grammar of Ornament' as part of ornament from Oceania. I really like the depiction of movement in the cropped and enlarged image on the left.
 |
| 3903 |
The spiral staircase, or shell design gave an interesting segmented pattern when moving a 'window' across the centre. I developed this further by use of the fibbonacci series.
 |
| 3904 |
A cropped section of the square spirals also gave an interesting design.
 |
| 3905 |
I decided to go with the Ociania image and made a list of the techniques I would like to explore:
I started off with three layers of hand dyed fabrics (on a calico base) as I wanted to use reverse applique from Module 1.
 |
| 3906 |
I tacked the layers together and transferred the design onto the calico backing by use of a transfer pencil. I then stitched from the back, and cut away the layers on the front. I was a little disappointed that the cerise lozenges top and bottom lay beneath a cerise section on my top layer of fabric. I had hoped that these would stand out like jewels against the background without too much further embellishment.
 |
| 3907 |
I stitched into the centre of the lozenges with whipped stitch on my machine using pink and maroon thread, just to create a tiny bit of interest texture, then hooped from reverse and stitched heavy textured spiralling and meandering cable stitch from the back.
 |
| 3908 |
 |
| 3909 |
I wanted to incorporate tyvek beads, and following my disappointment in Chapter 7, I watched a few tutorials on you tube. I painted one side in pink, and the other side in green lumier paints, then zig zag stitched the tyvek with pale green variegated thread. I cut the tyvek into small triangular strips, serrated the edges, then zapped with the heat gun, et voila!
 |
| 3910 |
Success! More treasure! I am very happy with the resulting crunchy textural beads. The lumier paint has sort of seperated, giving a gold edge to the tyvek strip as it retracted from the heat. A bigger bead would be amazing wrapped with wire and beads!
 |
| 3911 |
I then made a few miles of machine stitched cords. One using a core of space dyed string stitched with pink/maroon variegated thread, and the other, a thicker cord, using a core of purple and maroon tapestry threads stitched first with maroon and metallic cerise thread, and then with lime green and a dark metallic green thread.
 |
| 3912 |
The beads were threaded onto the cords which were knotted and spiralled and then couched down onto the bands between the lines cable stitch, creating a heavily textured 'raised surface', seperated by the low relief of the lime green reverse applique bands.
 |
| 3913 |
My plan was to further embellish the bands by randomly beading the cable stitch to add a bit of sparkle, but felt that this detracted from the texture and dull sheen of the tyvek beads and the knotted cords, it didn't need the glitz, so these were removed!
 |
| 3914 |
I was still a little disappointed with the lozenges in the cerise bands. Although I wanted these sections to be low relief to contrast with the busy chunky texture of the bands, I'm a bit bothered that they are almost lost. It would almost be better that they were not there at all!
 |
| 3915 |
I experimented with beading the lozenges with a contrasting colour,
 |
| 3916 |
 |
| 3917 |
and then with a similar colour,
 |
| 3918 |
but I felt that these areas were then taking too much attention away from the textural bands.
 |
| 3919 |
I considered 'seeding' the cerise band with a grey/green thread in order to make the lozenges stand out a little better, but was not happy with this!
 |
| 3920 |
It then occurred to me that if I clipped a little closer to the stitching, I would expose more of the green layer to surround the lozenges. This made them stand out better against the cerise background whilst not fighting against the textured bands and gave a much more pleasing result, so although I was eager to add more stitching & embellishment I decided that now was a wise place to stop before going too far and spoiling the effect.
 |
| 3921 |
After stitching down the loose cords at the sides of my work, I mounted the sample onto thick card and laced the back tightly.
 |
| 3922 |


Wow!!
ReplyDeleteWow Julia - you are so on a roll just now! You are just buzzing with creative ideas. I love your tyvek beads and the resolved sample is just amazing. Well done!
ReplyDelete