
I started by tracing off the water panels, and stitched fifteen individual panels of lacey chiffon.
 |
| 06.11.01 |
 |
| 06.11.02 |
'Waves' were then traced from my original design, and cut from my denim panels. These were sewn onto the lace panels using whip stitch in white thread to replicate the torn edges of my paper design. The torn edges appeared to give a lovely 'frothy water' effect on my paper design and I really wanted to attempt to reproduce the effect in stitch.
 |
| 06.11.03 |
Zig zag stitch onto dissolvable fabric 'gathered' the panel and made the reed panels much narrower than desired, therefore calculations and a little trial and error was needed.
With a little experimentation, and a lot of luck, I guestimated that I should split the traced off panel shape into equal strips, and added 2.5cm spaces.
 |
| 06.11.04 |
I traced the resulting extended shape onto dissolvable fabric, and stitched a basic background framework structure to support the rows of zig-zag stitch.
 |
| 06.11.05 |
(and a random 'selfie' was taken as authentication proof!)
 |
| 06.11.06 |
Rows of zig-zag were then stitched over the top of this 'skeleton' in various shades of variegated thread. Angles were changed slightly and gaps were allowed to form in order to create movement.
 |
| 06.11.07 |
Once completely stitched, the panel was soaked in warm water to dissolve the stabiliser. and with fingers crossed, the panels all turned out to be the correct width!!! (The gaps allow for minor adjustment where necessary).
 |
| 06.11.08 |
The panels are then hand stitched together. The top edge of the reeds has a lovely loose frayed texture which overlaps the water in a semi-realistic fashion. I stitch the water panel over the bottom edge of the reeds to suggest that the reeds are growing through and are surrounded by water.
 |
| 06.11.09 |
I experimented with threading the finished panels with either lengths of wicker, or with a gold stitched hand-made cord. I felt the cord looked the better of the two and was more in keeping with my original design.
 |
| 06.11.10 |
 |
| 06.11.11 |
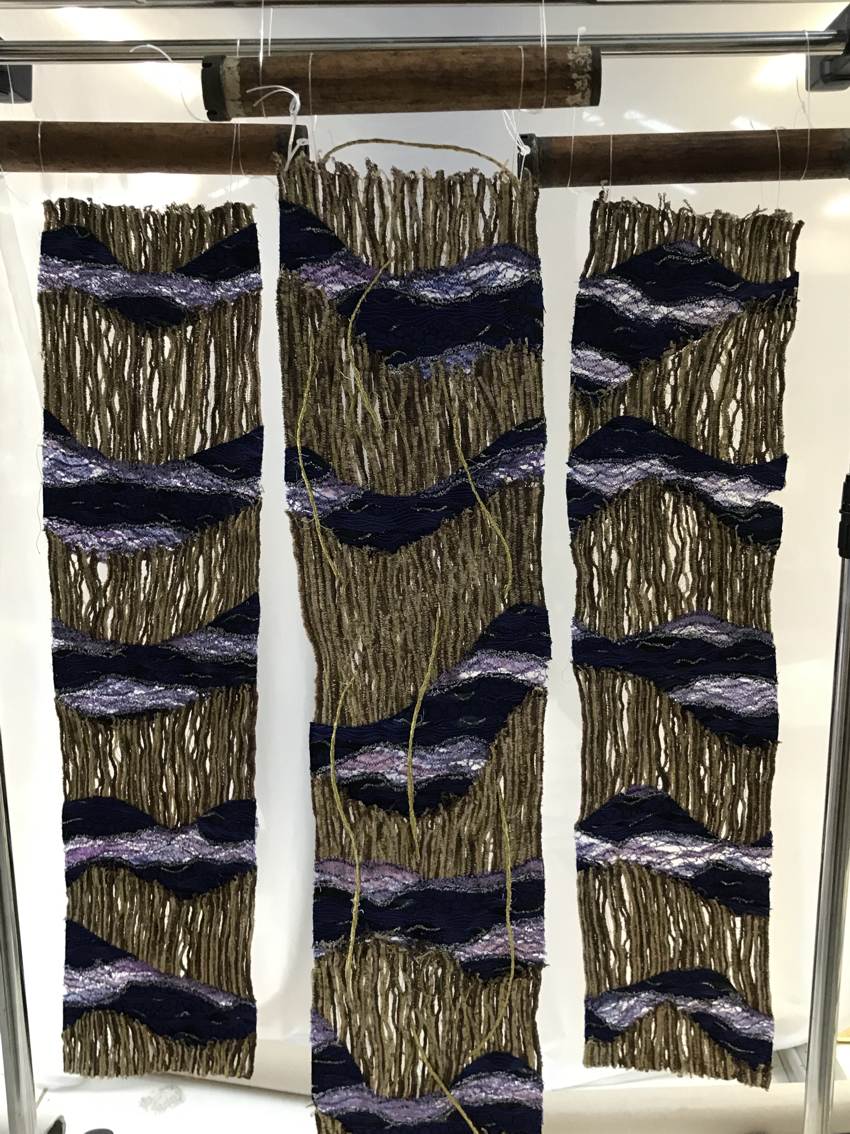
I had planned all along that the panels would be hung from old wooden bobbins from a cotton mill, and suspended in front of a window, with the panels on the left and the right hung slightly behind the centre panel. The best way of displaying this idea on a portable stand was by using a metal clothing rail. The light from the window would shine through the lacy water panels and the gaps in the reeds, and also, hopefully, on a warm, sunny day, the thermochromic ink would change colour!
 |
| 06.11.12 |
 |
| 06.11.13 |
The above images are roughly thrown together to get an idea for the finished piece. I like the gold cording, All panels will have this.
 |
| 06.11.14 |
HOWEVER...
When finishing the hand stitching on my last panel, I sat back and looked across at my work, noticing that the panel had folded itself into a random rippled affect, which I immediately felt was quite lovely. It had movement and energy that the straight panels were lacking.
 |
| 06.11.15 |
 |
| 06.11.16 |
 |
| 06.11.17 |
So, back to the drawing board, I'm contemplating making a rectangular framework of pallet wood. The base would need to be slightly bigger, to stabilise the structure.
I am going to experiment with soaking my panels in dissolved 'Romeo' stabiliser to stiffen, and to see if I can form permanent ripples in my panels.
The panels will then be suspended by, and stitched to lengths of clear fishing wire which will hopefully be almost invisible, giving the panels the appearance of floating in mid air within the pallet wood framework, allowing light to shine through from behind.
 |
| 06.11.18 |
I will experiment with the gold cord, but I think this will be a lively addition to the piece.
TO CONCLUDE: After soaking each panel in a strong 'soluble stabiliser' solution, I laid them out and allowed them to dry over randomly rolled tubes of plastic which formed lovely permanent ripples.
 |
| 06.11.19 |
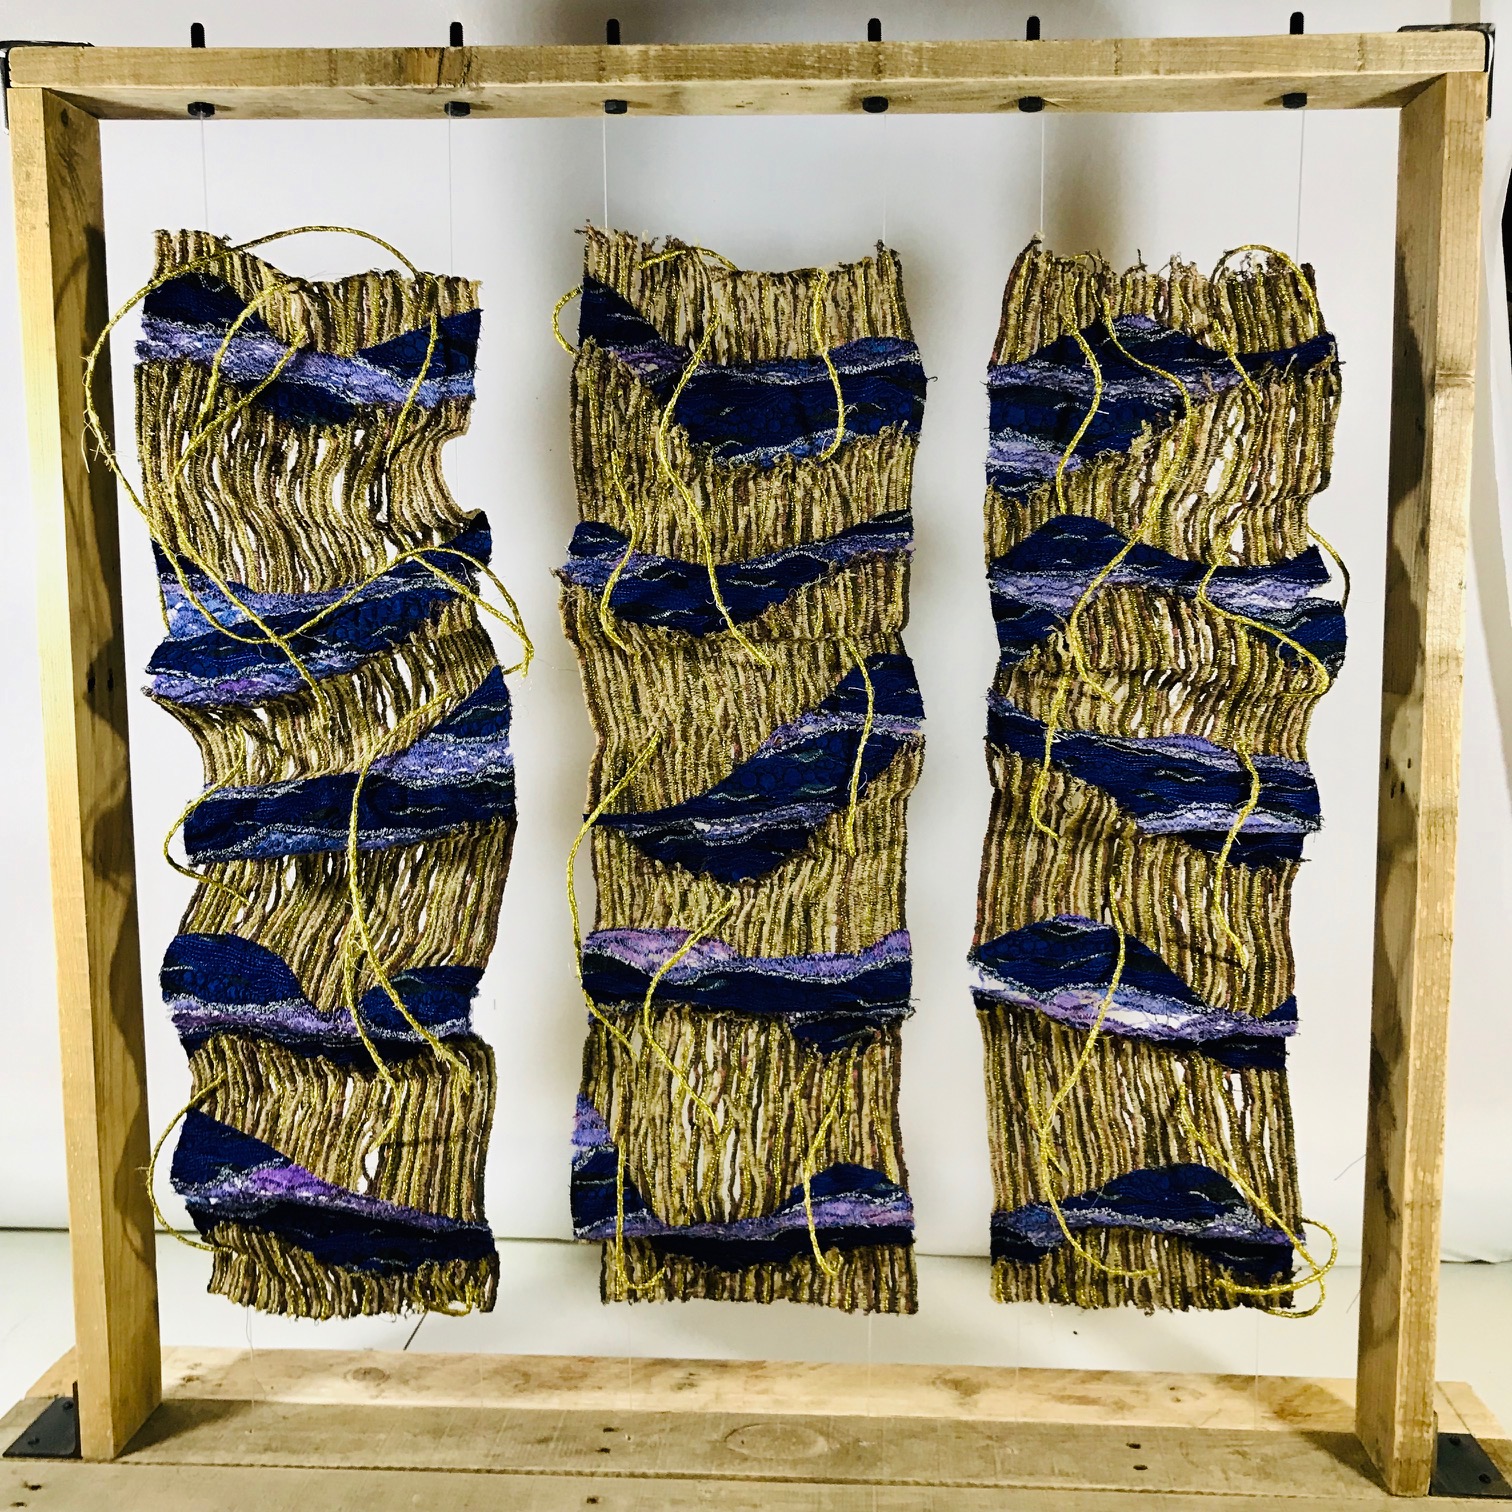
As intended, I constructed a simple frame from pallet wood and tied lengths of fishing wire through drilled holes onto which I attached my stitched panels. When stitching the panels to the wire, I hadn't anticipated that the stitching would not hold, and would slide down the wire. Fortunately, my husband was present. He disappeared into the garage and returned with lead shot for fishing (apparently fishermen use this to clamp bait onto fishing line! Who'd have known!!!). These 'pellets' clamped onto the fishing wire and held my stitching in place! Wonderful! I was then able to slide these up and down, to rearrange my ripples as desired before clamping tighter and finishing off with a blob of hot glue on the back to hold in place permanently.
I then threaded the gold stitched cord through some of the gaps in the reed sections.
 |
| 06.11.20 |
Completed hangings suspended within wooden frame.
The frame measures 32 inches square.
 |
| 06.11.21 |
 |
| 06.11 22 |
 |
| 06.11.23 |
Close up of thermochromic detail when heat applied.
 |
| 06.11.24 |
Presentation board.
No comments:
Post a Comment