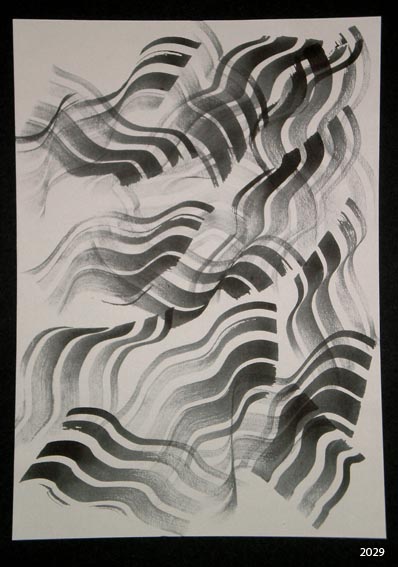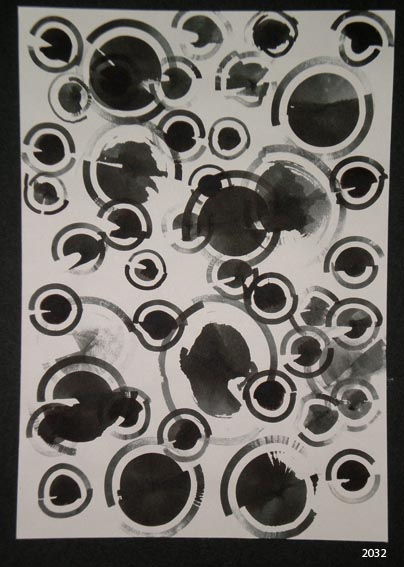

2041 A collection of black and white patterned fabrics
SHIBORI METHODS USING DYES
I mixed 10g of black dye to 10ml water to ensure a strong density of black dye.
The results from my first attempt at dyeing were not very dark. For my second attempt I pre-soaked the fabric with soda ash which gave much better results.
I dyed a dozen pieces of fabric plain black for a later exercise. I left this in a bag with dye, salt and soda ash for 12 hours. The resulting black was much more successful, however, whenI left my shibori in the dye for longer than half an hour, the dye seeped beneath my thread and coloured the entire fabric. Even though my fingers were sore after gathering the threads as tightly as I could, I still don't think they were tight enough!
After four attempts, I feel I have some reasonably satisfactory results but will experiment again when I have more time.


I applied Jacquard textile paint to a sheet of perspex and created patterns using plastic card and colour shapers. The stronger images on the left are the first prints, whilst the 'second prints' on the right are more faded.

2050 was created with a plastic store card with a series of 'teeth' cut into it.

2051 was created by twisting the edge of a strip of cardboard.

2052 was a cross-hatch of lies made with the edge of a plastic store card.

2053 was created by a colour shaper used in a dioagonal stabbing motion.

2054. In one of her books, Ruth Issett suggests dropping lines of paint onto a perpex sheet and pressing another one tightly against it. When pulled apart, the paint forms a delicate 'feathered' effect, which can be monoprinted as above.
SCREEN PRINTING

2056 and 2057 are printed through torn paper stencils.


2057 is printed through a supermarket fruit net, and gives a lovely snakeskin effect.
The results from my first attempt at dyeing were not very dark. For my second attempt I pre-soaked the fabric with soda ash which gave much better results.
I dyed a dozen pieces of fabric plain black for a later exercise. I left this in a bag with dye, salt and soda ash for 12 hours. The resulting black was much more successful, however, whenI left my shibori in the dye for longer than half an hour, the dye seeped beneath my thread and coloured the entire fabric. Even though my fingers were sore after gathering the threads as tightly as I could, I still don't think they were tight enough!
After four attempts, I feel I have some reasonably satisfactory results but will experiment again when I have more time.
2042 was rolled and wrapped tightly with string, then dipped into dye.

2043 was rolled into a tube, and wrapped tightly with string in just 3 places.

2044 was scrunched up into a tight ball and wrapped tightly with string.

2045 was folded into triangles and held tightly with pegs, then dipped into dye.

2046 was folded into a rectangle, then held together with pegs and dipped in dye.
TRITICK SHIBORI

2047 was folded into wavy 'pin tucks', hand stitched with upholstry thread, gathered tightly and dipped into dye.

2048 was gathered tightly in straight lines and dipped into dye.
I was disappointed with both of the above. The stitches did not create much of a resist. Perhaps the stitches were too small, so I was not able to gather them tightly enough.
ARASHI SHIBORI

2049 was wrapped around a section of plastic drainpipe, wrapped tightly with string which was then pushed together to 'ruche' the fabric. This was then painted with black dye.
MONOPRINTING
I applied Jacquard textile paint to a sheet of perspex and created patterns using plastic card and colour shapers. The stronger images on the left are the first prints, whilst the 'second prints' on the right are more faded.

2050 was created with a plastic store card with a series of 'teeth' cut into it.

2051 was created by twisting the edge of a strip of cardboard.

2052 was a cross-hatch of lies made with the edge of a plastic store card.
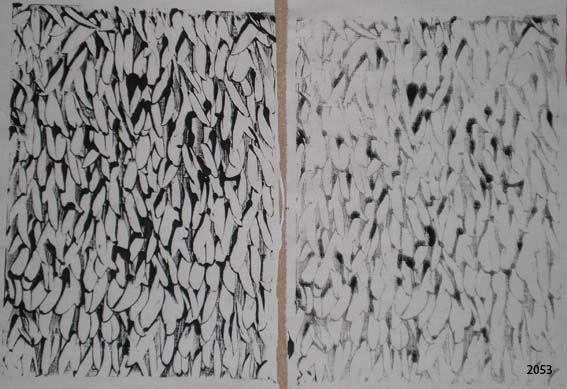
2053 was created by a colour shaper used in a dioagonal stabbing motion.

2054. In one of her books, Ruth Issett suggests dropping lines of paint onto a perpex sheet and pressing another one tightly against it. When pulled apart, the paint forms a delicate 'feathered' effect, which can be monoprinted as above.
SCREEN PRINTING

2056 and 2057 are printed through torn paper stencils.


2057 is printed through a supermarket fruit net, and gives a lovely snakeskin effect.